Some people asked me explanation about "Volvo" so I decided to make a new-one and take some (bad) pictures of it on it's way to life....
I took special attention that the gears and motor are easy to find (and cheap too).
as usual I don't bother making Electronic research and took a look at my friend Math Vos homepage http://home.wanadoo.nl/m.m.avos/ to got an exciting circuit (based on his "ALI" this time).
I won't give you specifics mesures as you're free to find differents
parts....Just contact me if you really want.
The main goal is to explain you a cheap and easy way to build a Robotic
platform on your own.
First you need some tools :
- A drill (Cordless if you can !)
- A saw
- a file
- clamps, screw-drivers etc...
- epoxy glue(2 componants Araldite...) or Cyano (loctite).
- basic soldering tools for the electronic..
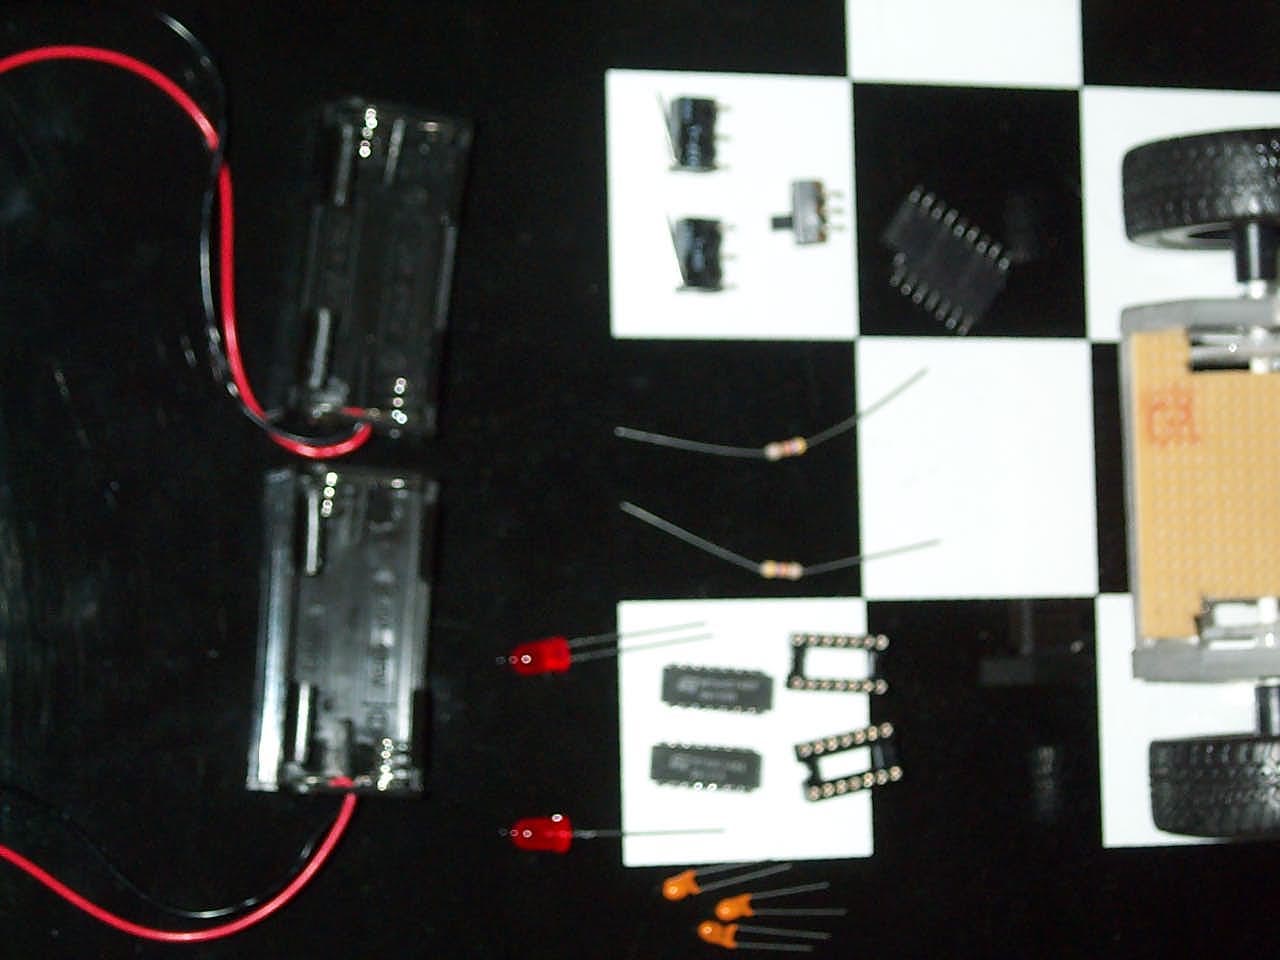
Materials :
- pieces of polycarbonate 5mmm thick (it doesn't brake wenn you
cut it !).
- 2 gears set (look on the web at Conrad réf.: 29 74 02-33
6€20 les 2).
- 2 motors ( Conrad réf.: 24 44 06-33 5€ les 2)
- 1 fiberglass stick 3mm diameter for the gears (you can use metal...)
- 2 wheels out of your little brother/son new toy + 1 tape
roller from a (dead) walkmann.
- 2 batteries holders.
- 1 prototyping Board for electronic + the components.
The main frame is based and two side panels holding the complet transmission joined together by a central piece which hold batteries and electronic.
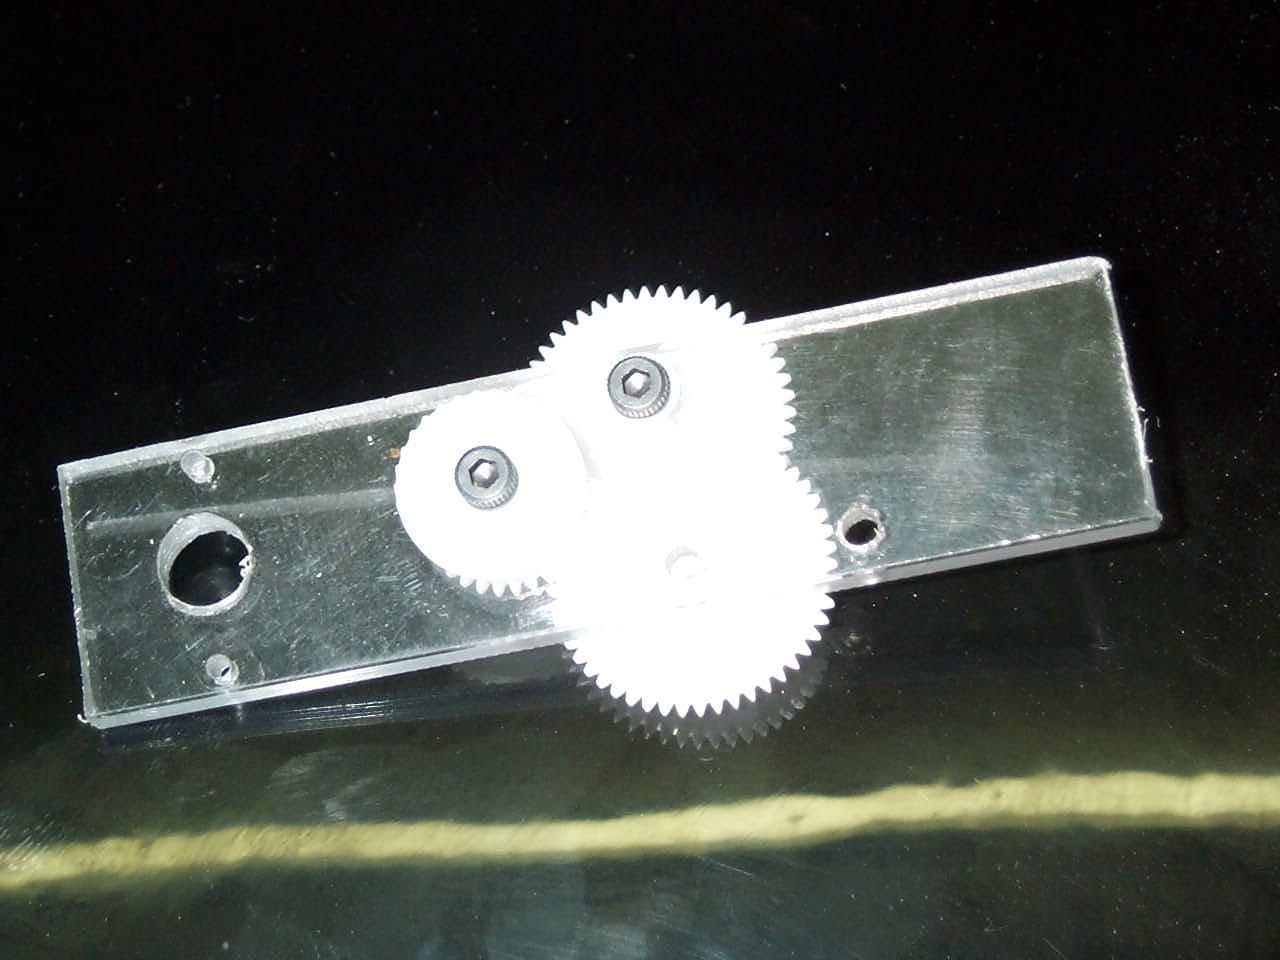
How to make the sides :

all the parts needed : 1 side is already drilled, the second will be
bolted on it to be sure boring are drill at the location.
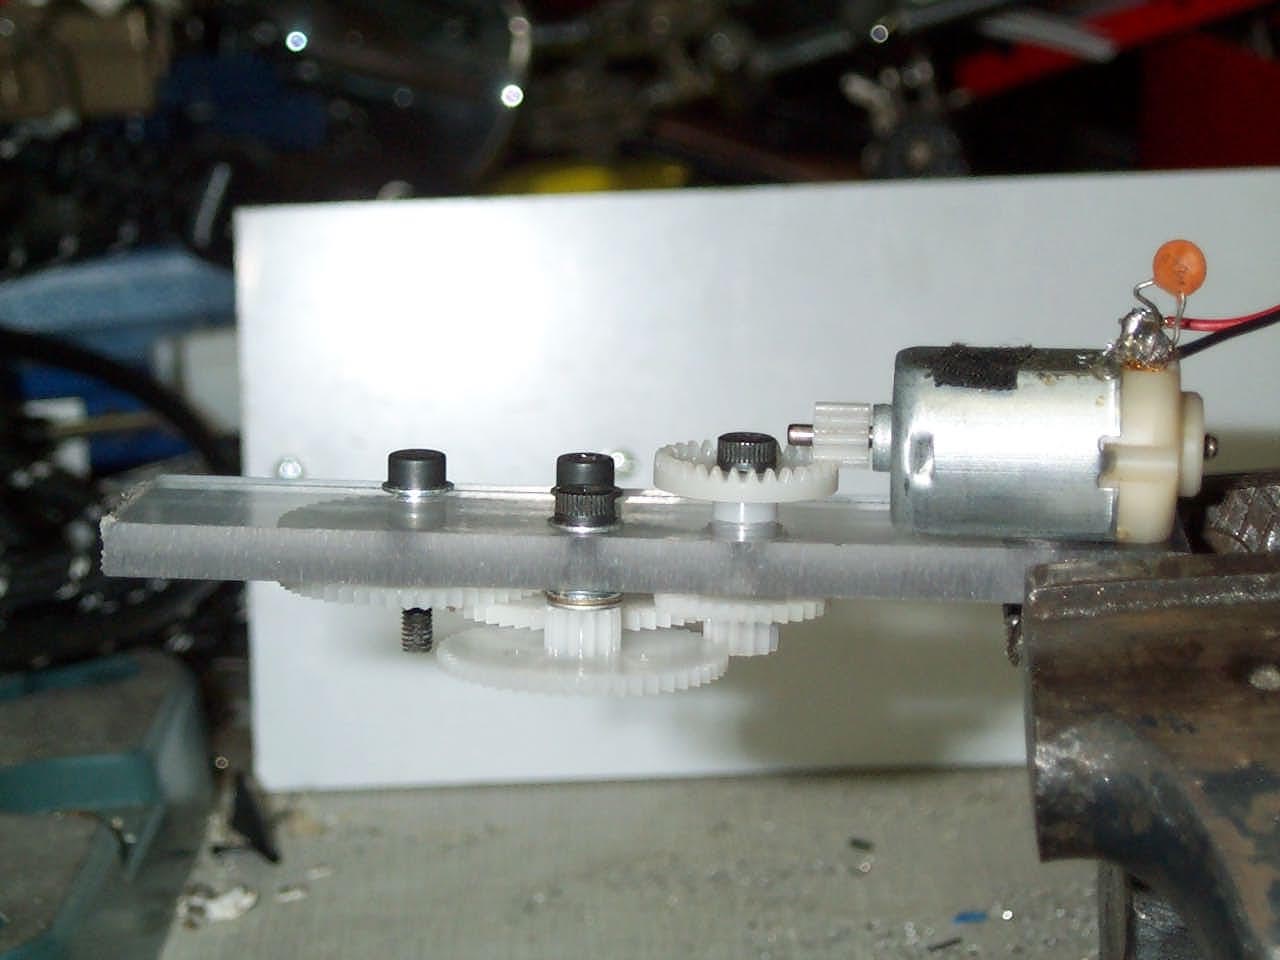
 Start by a 3mm hole, screw
the firsts gears (the one on motor side.
Start by a 3mm hole, screw
the firsts gears (the one on motor side.
 Mark location of the second
set of gears and drill.Screw it back not too tight and be sure rotation
is smooth, if not enlarge the boring (a little !)
Mark location of the second
set of gears and drill.Screw it back not too tight and be sure rotation
is smooth, if not enlarge the boring (a little !)
 Repeat for the
other gears, allways test the rotation of all the gears together !
Repeat for the
other gears, allways test the rotation of all the gears together !
 You are nearly
there ! (The empty hole is the one for the wheel.
You are nearly
there ! (The empty hole is the one for the wheel.
 Be courageous and made a test
! try to avoid vibration and chainsaw-like noise ! (the screws need to
be tight so the gears don't shake but are free on rotation).
Be courageous and made a test
! try to avoid vibration and chainsaw-like noise ! (the screws need to
be tight so the gears don't shake but are free on rotation).
 You just made it
! simply "copy" your drilling by screwing the second "side" part to the
first.
You just made it
! simply "copy" your drilling by screwing the second "side" part to the
first.
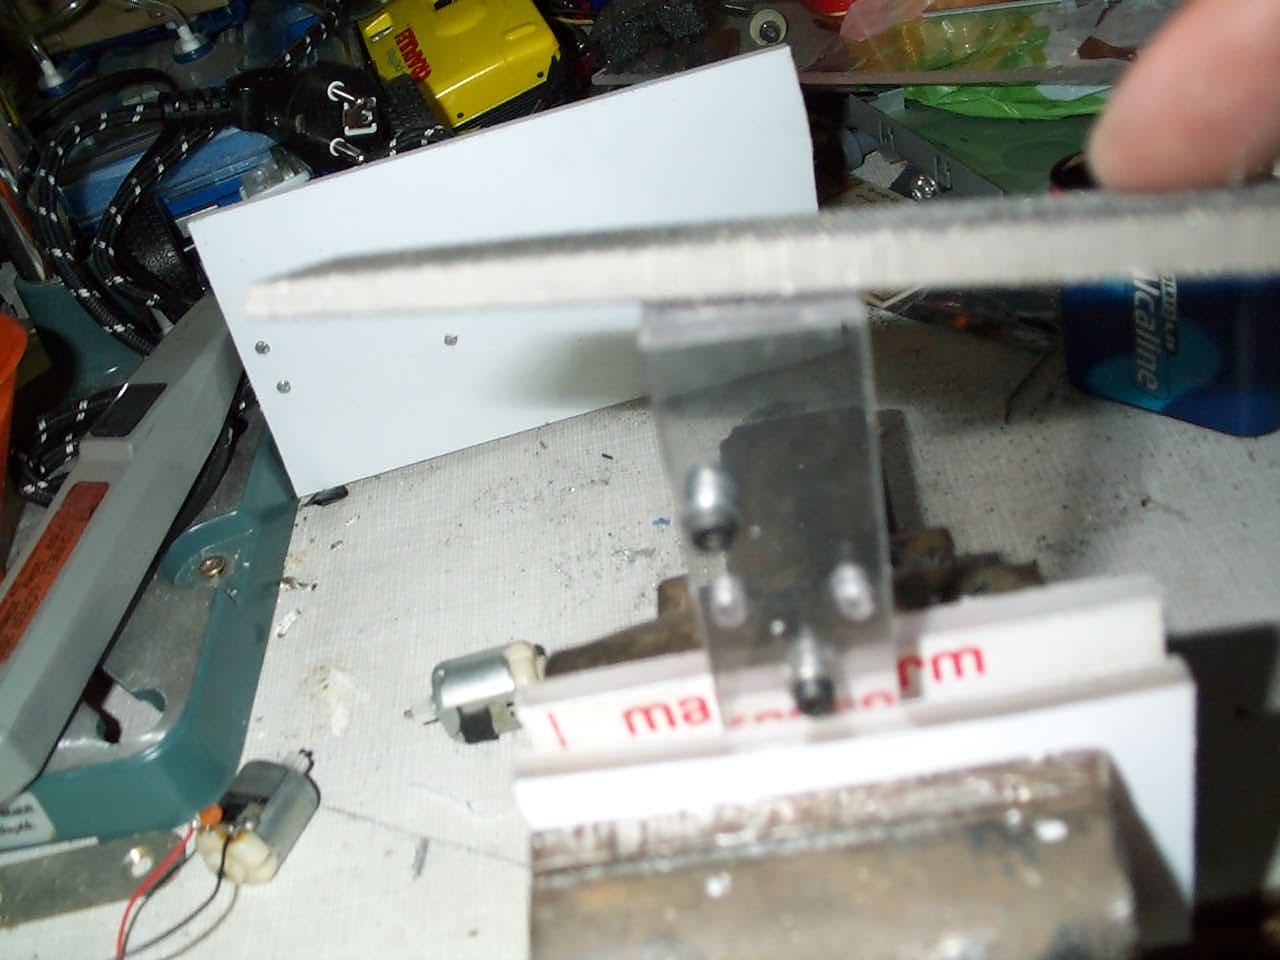
Cut them both at the same size and smooth it a little bit (for the
look !)
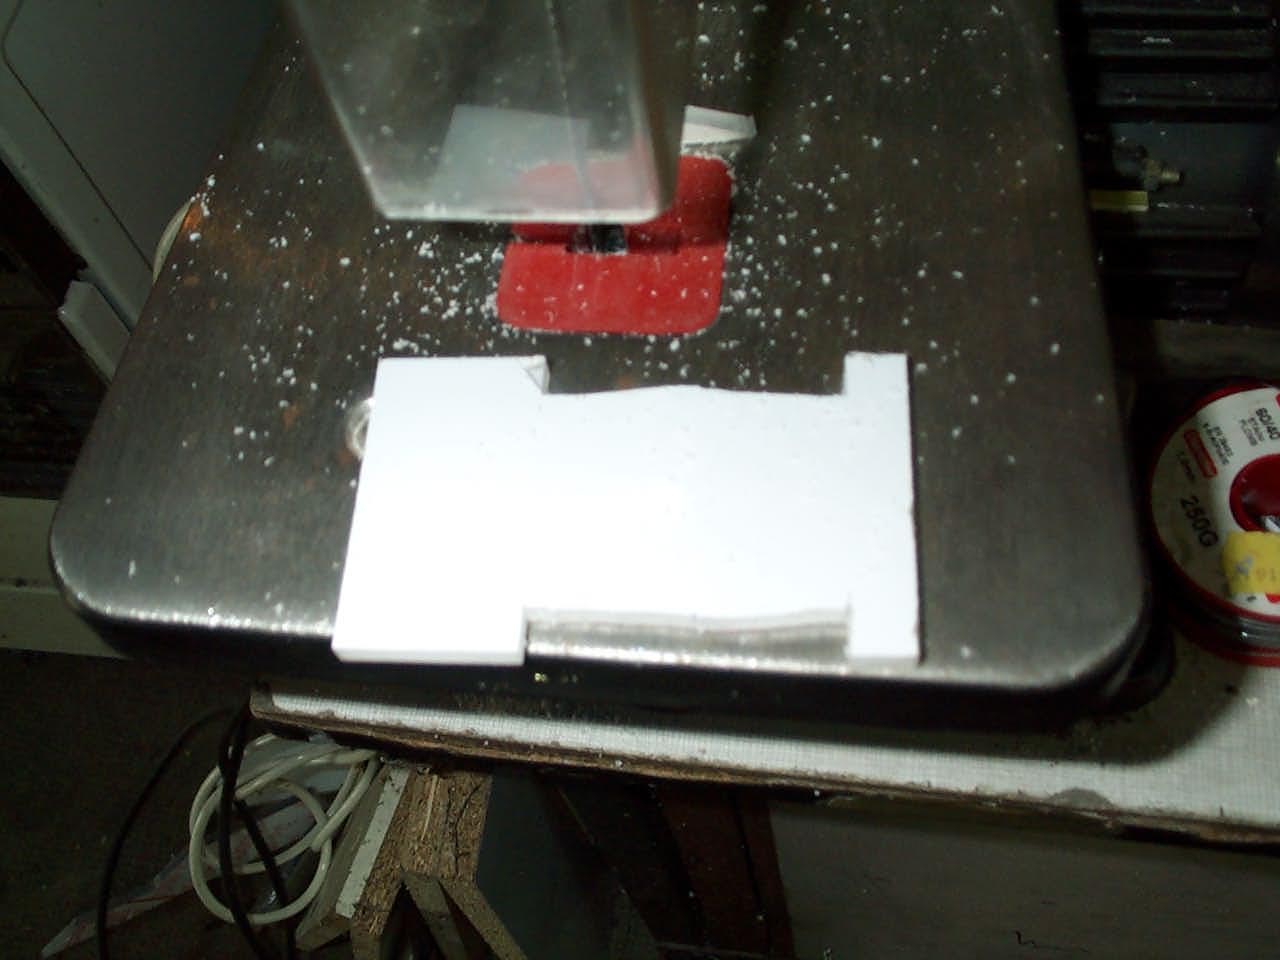 Cut the middle part
the same lengh as sides one and cut gears location.
Cut the middle part
the same lengh as sides one and cut gears location.
 How to glue !
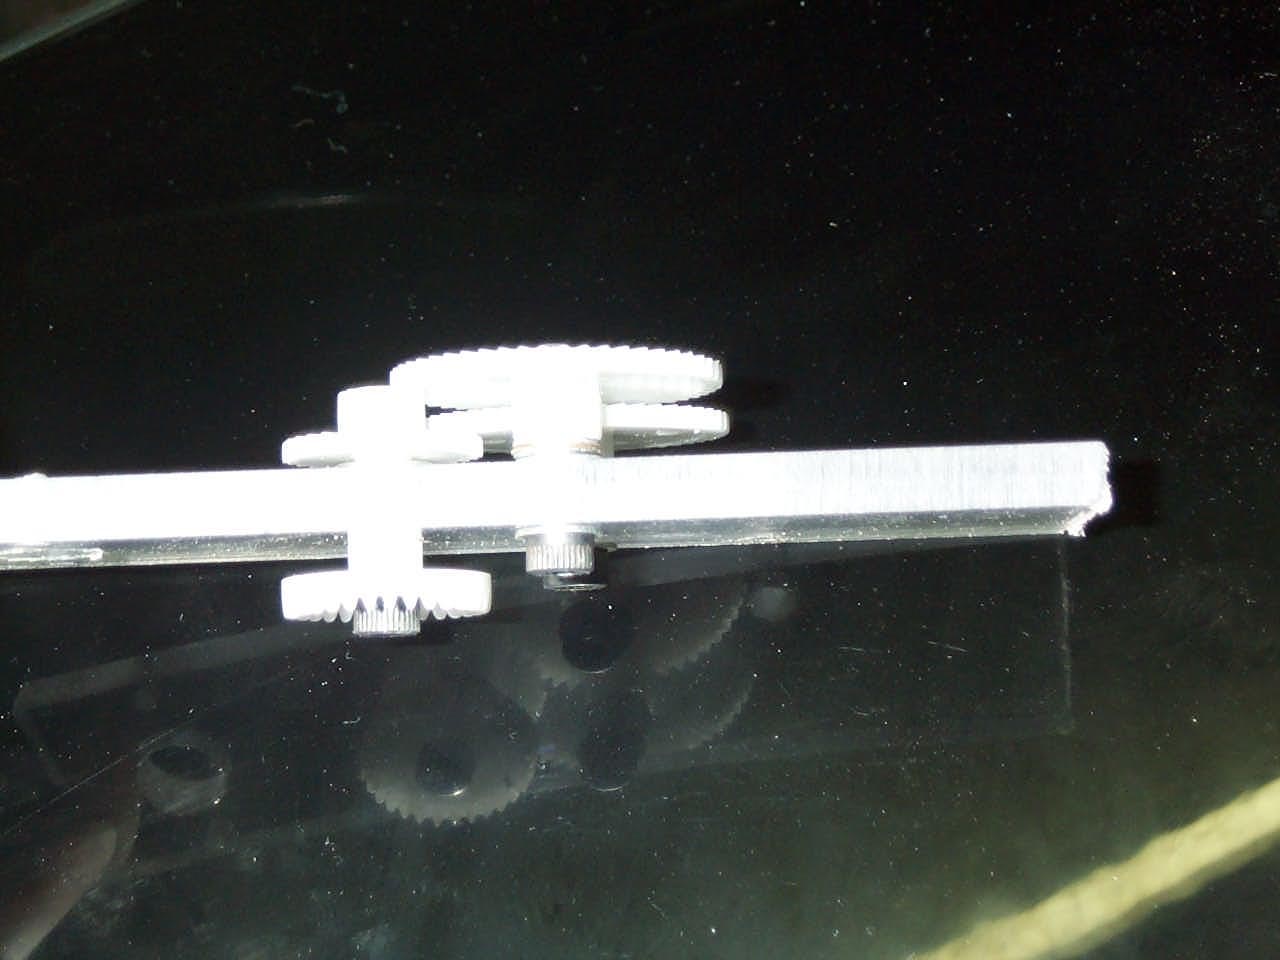
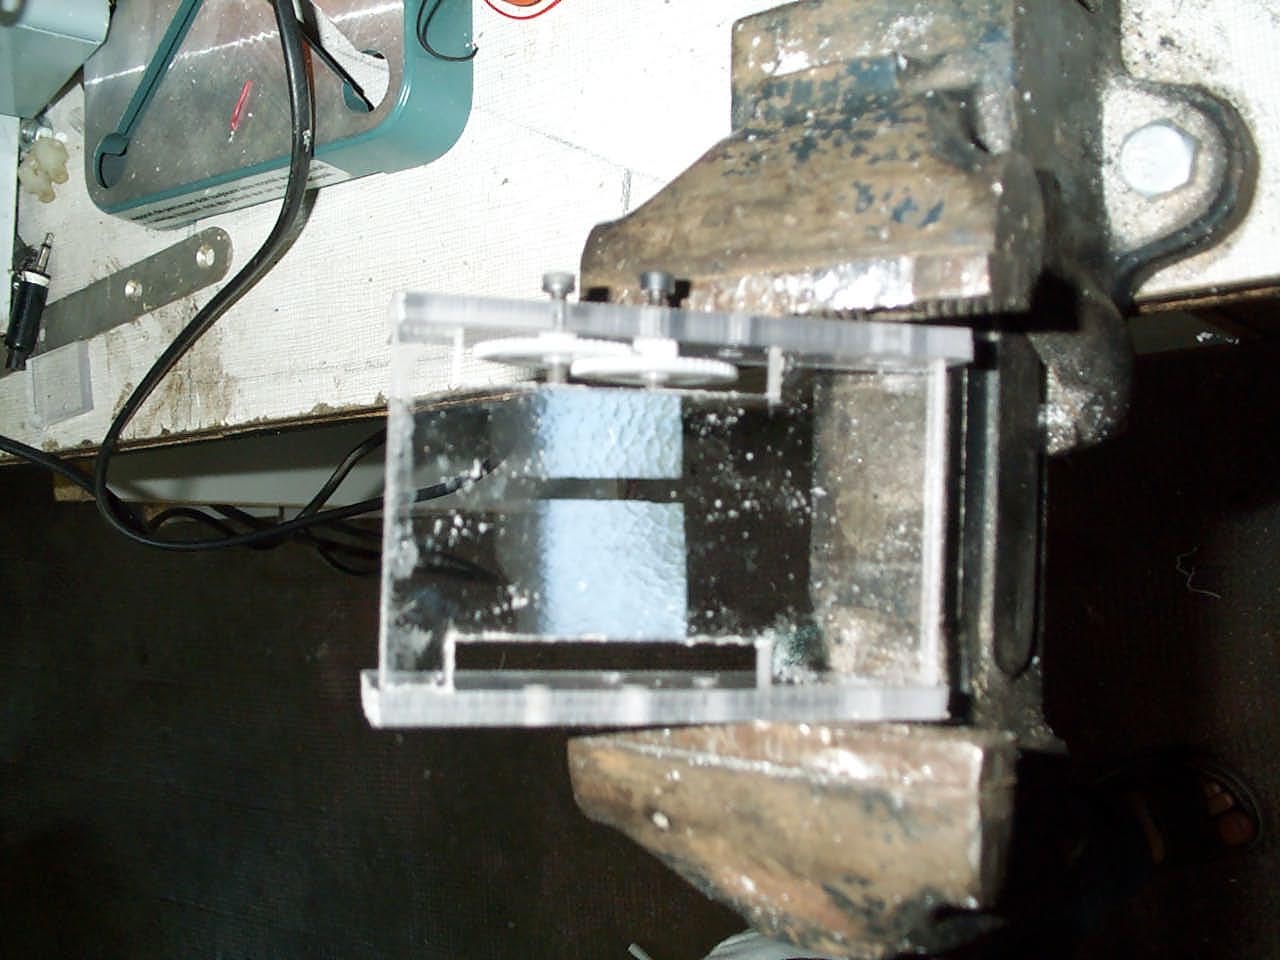
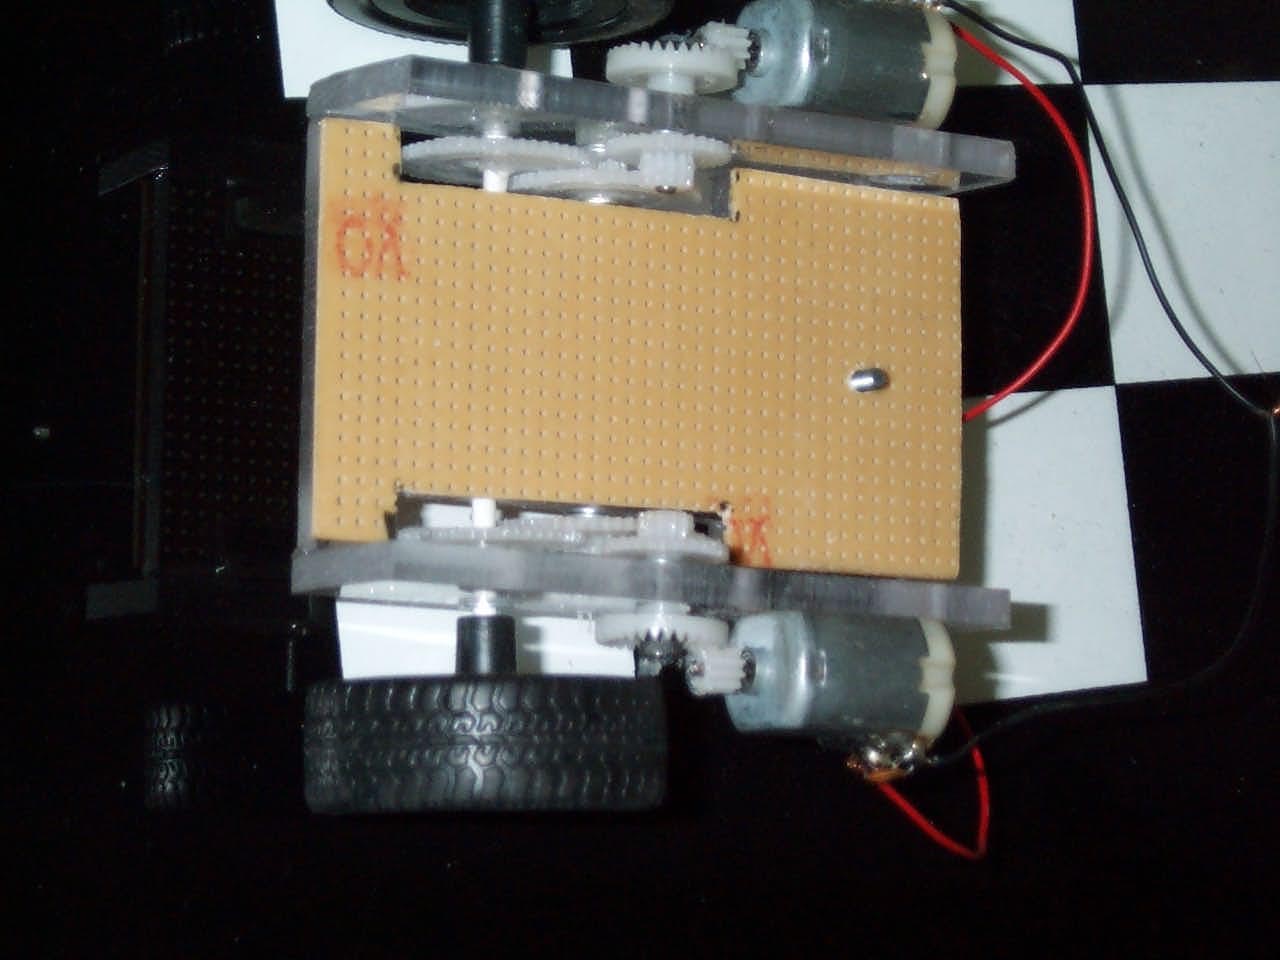
ATTENTION ! Middle part is at the same level as wheels axle. The point
is : if you drill a little hole on the thickness of the plate, the wheel
axle will get a "bearing" on both side which improve the capacity to support
load (see pictures).
![]() Put back gears, axles...
you can now adjust the motors position before gluing it (whith Loctite)Pay
attention of leaving some freedom between both gears (grind the gear or
stack some paper under the motor).
Put back gears, axles...
you can now adjust the motors position before gluing it (whith Loctite)Pay
attention of leaving some freedom between both gears (grind the gear or
stack some paper under the motor).
Note that the twoo last axles are beared "in" the middle plate too.
 préparing
circuit (cutting gears location)
préparing
circuit (cutting gears location)
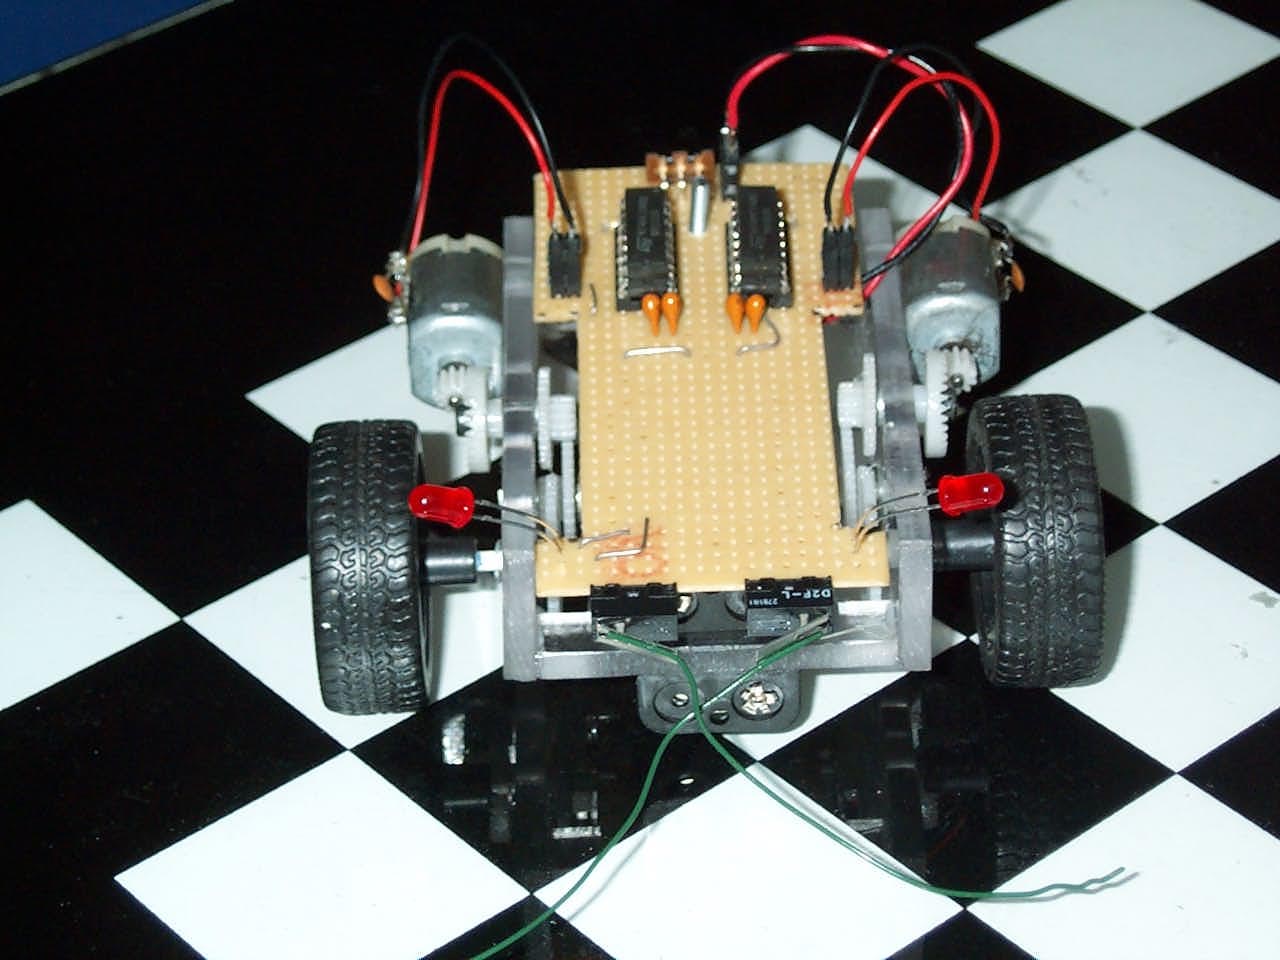
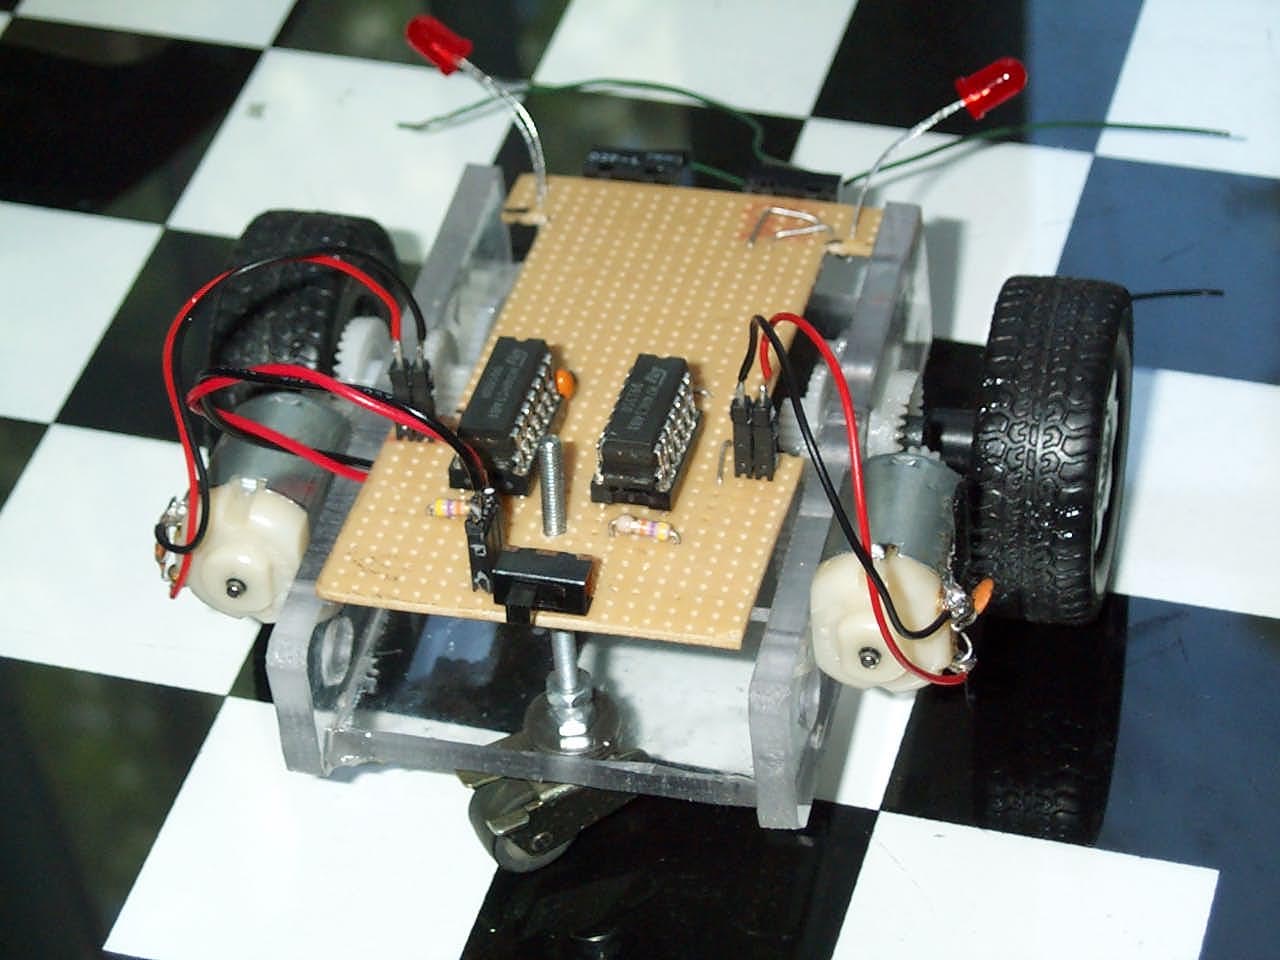
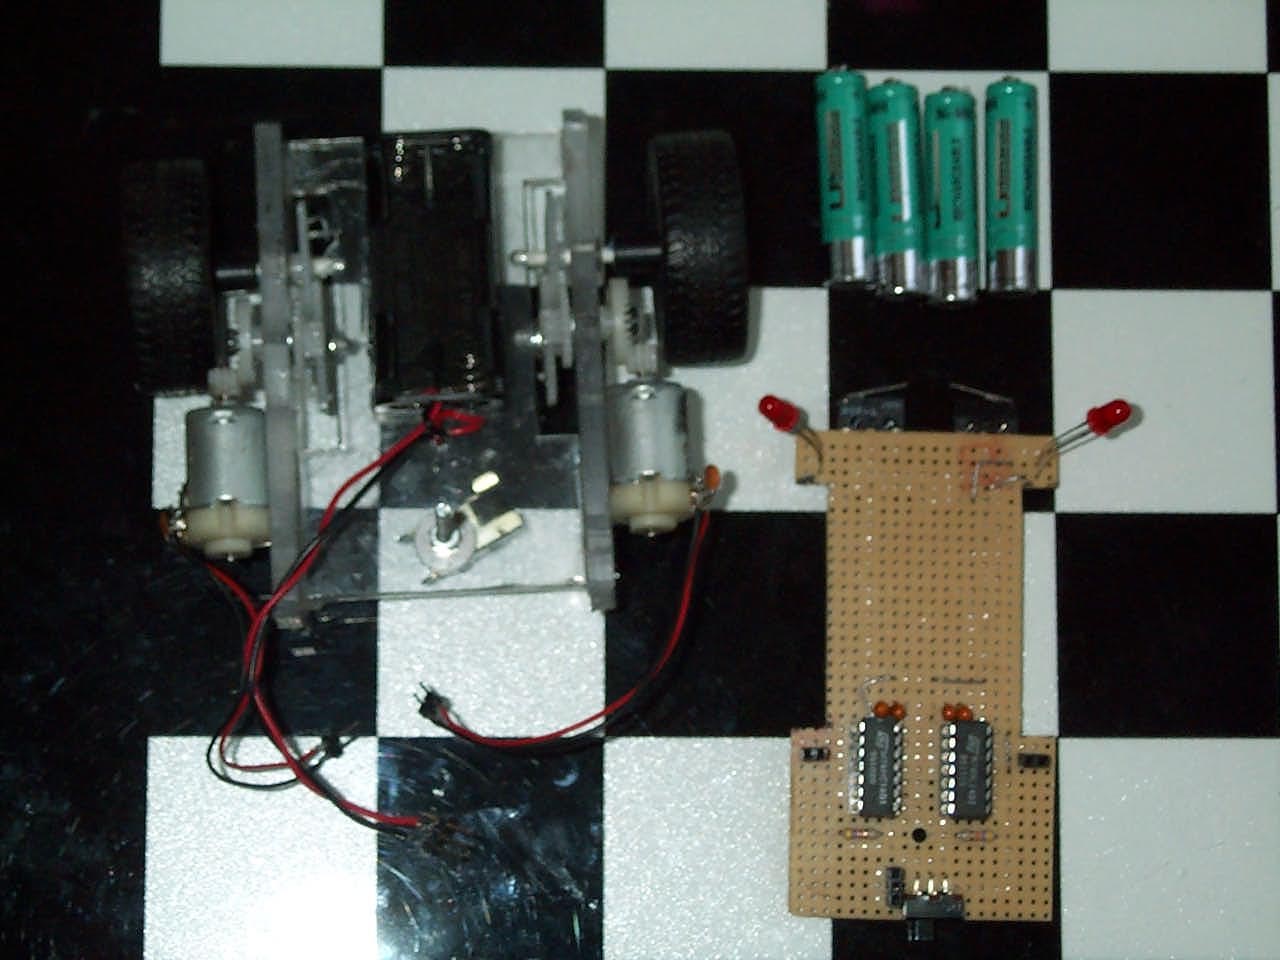 Electronic
ready!
Electronic
ready!